Does your Center City townhome feel narrow or dark in photos? You’re not alone. Many older Pennsylvania rowhomes have slim footprints, tall ceilings, and limited light that can make spaces read smaller online. With the right staging plan, you can brighten rooms, show real flow, and help buyers picture daily life in your home. Here’s a practical, room-by-room approach tailored to Center City, Blair, that maximizes light, space, and listing photo impact. Let’s dive in.
Staging goals for narrow townhomes
- Light first. Maximize natural light, choose brighter finishes, and layer lighting so every room feels welcoming.
- Entry appeal. Create an inviting stoop and vestibule that sets expectations for the rest of the tour.
- Declutter and storage. Remove personal items and show organized storage so buyers see function.
- Flow and scale. Arrange furniture to open sightlines and show smooth circulation.
- Photo-first mindset. Choose angles that show depth and lifestyle for your online audience.
Whole-home prep in 1–2 days
- Deep clean windows, trim, and floors. Repair visible damage and scuffs so photos read crisp.
- Neutralize bold rooms with a soft warm white or greige. Touch up trim for a clean edge.
- Replace burned bulbs and use daylight-toned LEDs around 2700 to 3500 K. Add table and floor lamps to layer light.
- Move extra furniture and boxes to off-site storage. Clear surfaces to help rooms feel bigger.
- Set a comfortable temperature for showings. Show warmth in winter and cool relief in summer.
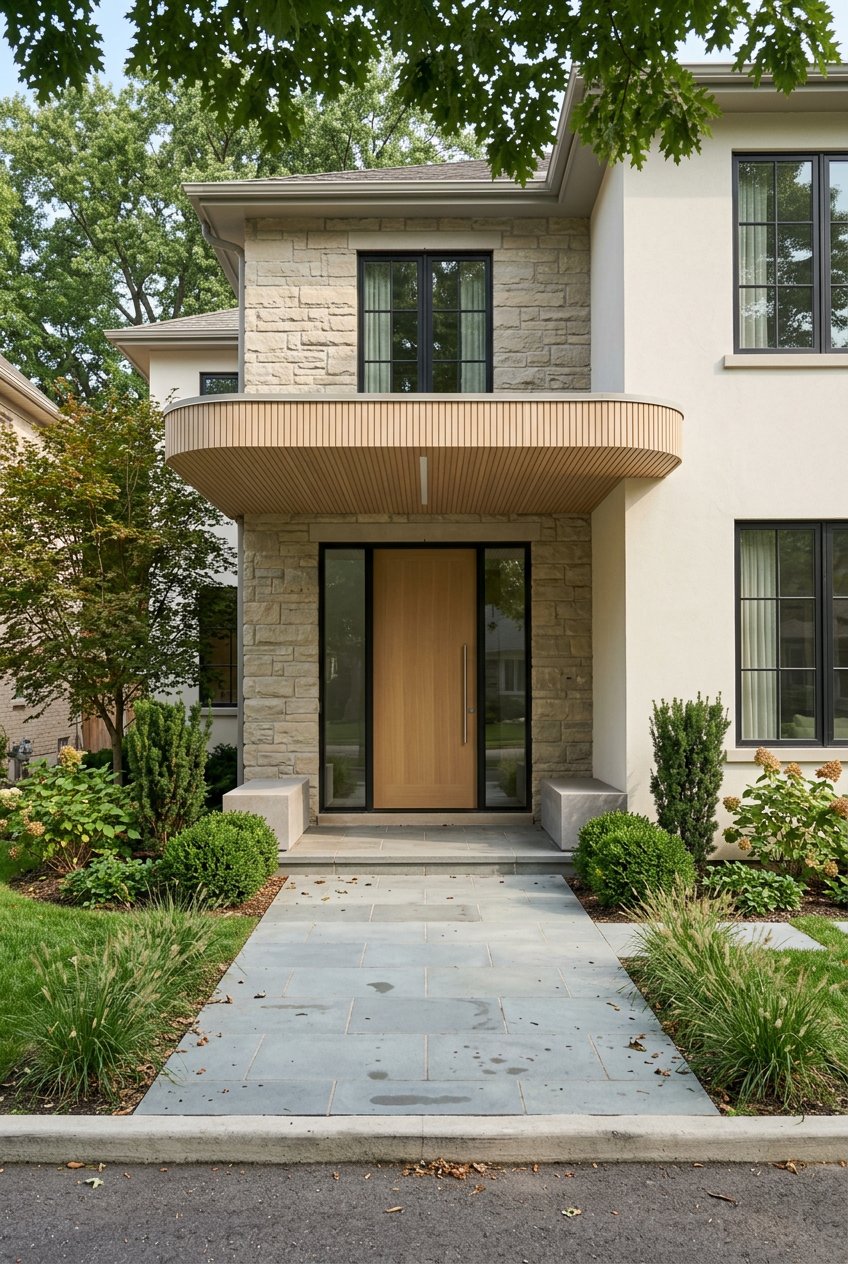
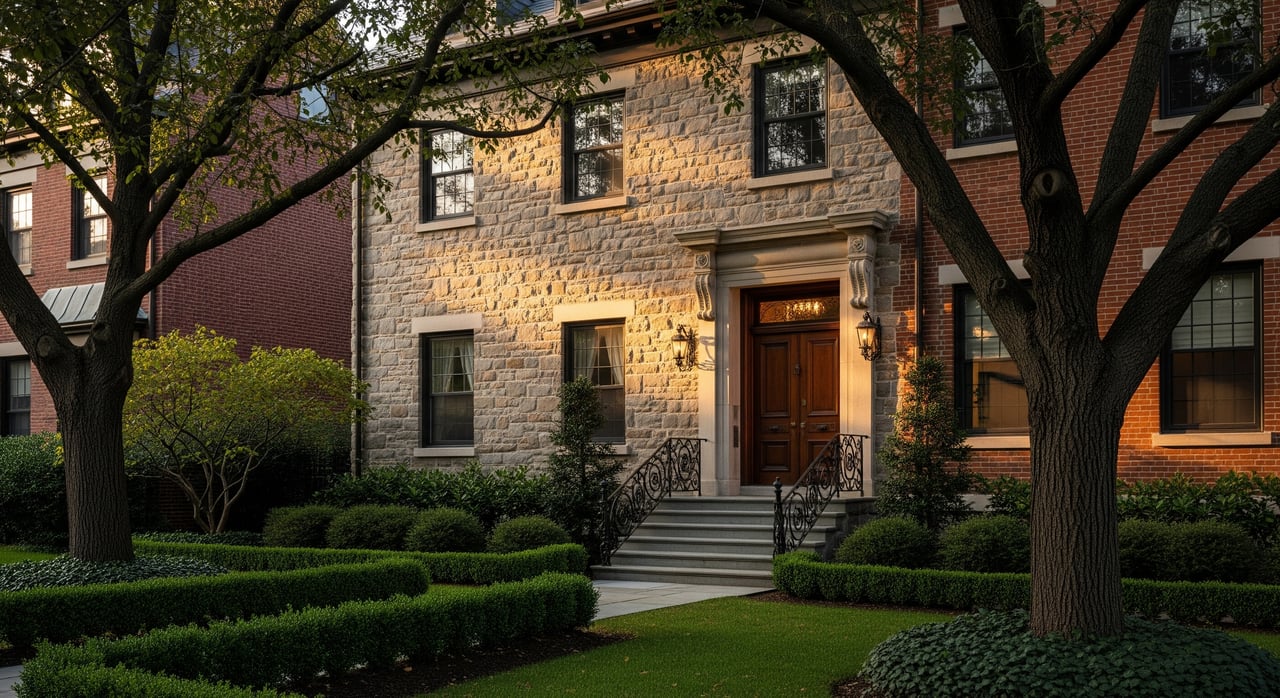
Entry appeal that wins clicks
Stoop and exterior touchups
- Clear the path to the door. Sweep, power-wash if needed, and tidy railings.
- Refresh the front door with paint and updated hardware if dated.
- Add a single potted plant and a clean welcome mat for a simple, friendly look.
- Photo tip: Shoot slightly off-center to include the stoop, door, and a glimpse inside.
Vestibule and first sightline
- If space allows, add a slim console or floating shelf and a mirror to widen the visual feel.
- Use a small rug and a simple bench or stool if it doesn’t crowd the path.
- Keep shoes, coats, and mail out of sight. First impressions matter in person and in photos.
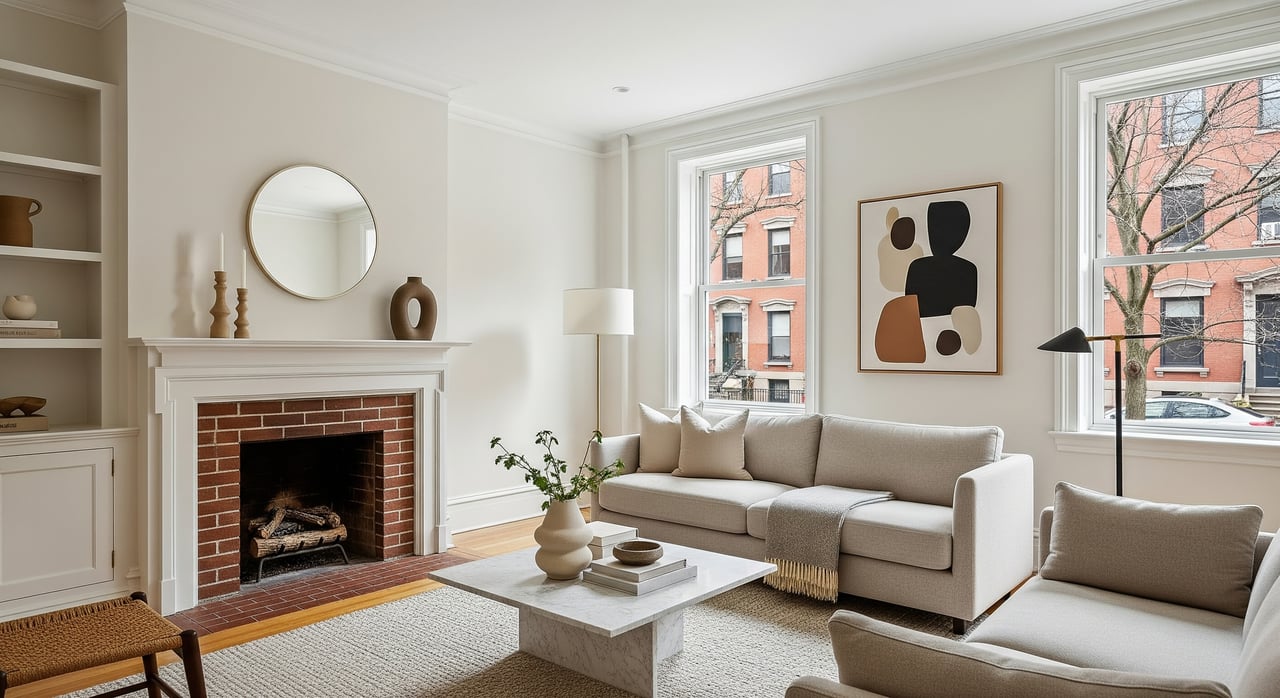
Living room layout for depth
- Choose scaled furniture. A slim sofa or loveseat with two armless chairs beats a bulky sectional.
- Float seating slightly off the walls to suggest circulation and show floor space.
- Remove heavy drapery. Use light-filtering shades or sheers. Add a mirror opposite a window to bounce light.
- Layer lighting with a floor lamp behind seating, table lamps, and a clean ceiling fixture.
- Photo tip: Shoot from a corner to show depth into the hallway or the next room, and include a shot facing the main window to highlight light.
Before/after snapshot
- Before: Dark paint, heavy curtains, oversized sectional.
- After: Light neutral walls, sheers, slim sofa with two chairs, added lamps and a mirror. The room reads wider and brighter.
Kitchen edits that read bigger
- Clear counters to about 15 to 20 percent occupancy. A bowl of fruit and a small plant are enough.
- Remove fridge magnets and papers. Polish fixtures and wipe stainless steel for a clean glow.
- Swap dated cabinet hardware for a modern finish. Add under-cabinet LED strips to brighten work zones.
- If cabinets are dark and budget allows, paint uppers a lighter tone to lift the room.
- Photo tip: Capture a corner angle that shows the length of counters, plus one close-up of styled surfaces to show finish quality.
Dining and combined spaces
- Use a small round table or a narrow bench setup to show seating without crowding.
- If your living and dining areas are combined, define zones with a rug and a simple chandelier over the table.
- Photo tip: Use a diagonal angle that shows both areas to emphasize flow.
Stairs and narrow hallways
- Clear the treads and vacuum thoroughly. Fresh and simple reads best.
- If finishes are very worn, paint risers or the handrail. Consider a runner if hardwood is damaged.
- Hang art in a linear arrangement to guide the eye without clutter.
- Photo tip: Include one shot up or down the stairs to show ceiling height and continuity, without over-widening.
Bedrooms that feel restful
Primary bedroom setup
- Right-size the bed. Choose a full or queen that fits the room’s width and leaves walking space.
- Keep furniture minimal. Two slim nightstands and one dresser are usually enough.
- Show organized closets. Leave the door slightly open to suggest function without overwhelm.
- Use neutral bedding with one accent color for a calm feel.
- Photo tip: Shoot from the doorway or a corner to include the bed and windows.
Small bedrooms and flex rooms
- Stage as a home office, guest room, or child’s room depending on local demand.
- Consider multifunctional pieces like a daybed or a desk with concealed storage.
- Photo tip: Highlight how the room functions, not just empty floor.
Bathrooms that sparkle
- Clear counters and add a small plant and soap dispenser for warmth.
- Replace a tired shower curtain with glass if feasible, or use a clean white curtain.
- Refresh grout and swap old fixtures like faucets and towel bars for a quick lift.
- Photo tip: Show both the vanity and shower. Avoid angles that distort size.
Basement and exterior spaces
- Clean thoroughly and confirm dry, usable space. Define zones for recreation, storage, or a small gym.
- If utilities are exposed, conceal neatly with panels or curtains where allowed.
- In small yards, set a compact bistro table and simple lighting. Tidy fences and weed beds.
- Photo tip: Capture the connection between indoor and outdoor areas, like the kitchen door opening into the yard.
Photography that sells online
- Time your shoot for the brightest part of the day in each room. Supplement north-facing rooms with staged lamps.
- Turn on all interior lights for even color and consistent brightness.
- Shoot from corners to show depth, and choose one or two hero angles per room.
- Include at least one image showing sightlines from the entry through the home. This is gold for narrow layouts.
- Order images for a clear story: exterior or entry, living room, kitchen, primary bedroom, bathrooms, secondary bedrooms, basement, backyard.
- Capture one or two vertical images for social media in addition to MLS-friendly horizontal shots.
- Use virtual staging carefully and disclose it as required. Keep edits realistic and avoid misrepresentation.
What to fix first and budget
High impact with low to medium cost:
- Deep clean and declutter.
- Repaint dark rooms in bright neutrals and touch up trim.
- Replace bulbs and add lamps for layered light.
- Swap kitchen cabinet hardware.
- Tidy the exterior and refresh the front door.
High impact with higher cost:
- Refinish or replace worn flooring in main areas.
- Refinish kitchen cabinets or complete a partial remodel if needed.
- Update bathroom vanities and faucets.
- Consider professional staging rental for key rooms.
Prioritize projects that show up first in photos and walkthroughs: entry, living room, kitchen, primary bath, and primary bedroom.
Timeline for a smooth launch
- Day 0: Walk-through and strategy with your agent. Identify top 3 to 5 items.
- Days 1 to 7: Hire painters and handypeople. Order lighting and hardware.
- Days 7 to 10: Declutter, use off-site storage, and deep clean.
- Days 7 to 21: Paint, install hardware, tackle minor repairs, and address flooring if planned.
- Days 18 to 22: Place furniture and complete professional staging.
- Days 22 to 24: Schedule photography during the brightest windows. Add a simple virtual tour and measurements.
- Day 25+: Final touchups and list.
Financing pre-sale updates
Compass Concierge often covers upfront costs for cosmetic improvements like staging, painting, flooring, landscaping, and minor repairs, then gets repaid at closing from the sale proceeds. Eligibility depends on listing with a Compass agent and whether the program operates in your area. Availability varies by market, so confirm whether Compass Concierge is active for Center City, Blair.
If Concierge is not available, consider short-term financing such as a personal line of credit or a HELOC, or look for reputable contractors who offer pay-at-closing arrangements in writing. Some brokerages run similar programs locally. When budgets are tight, focus on low-cost, high-impact items like paint, decluttering, lighting, and hardware first.
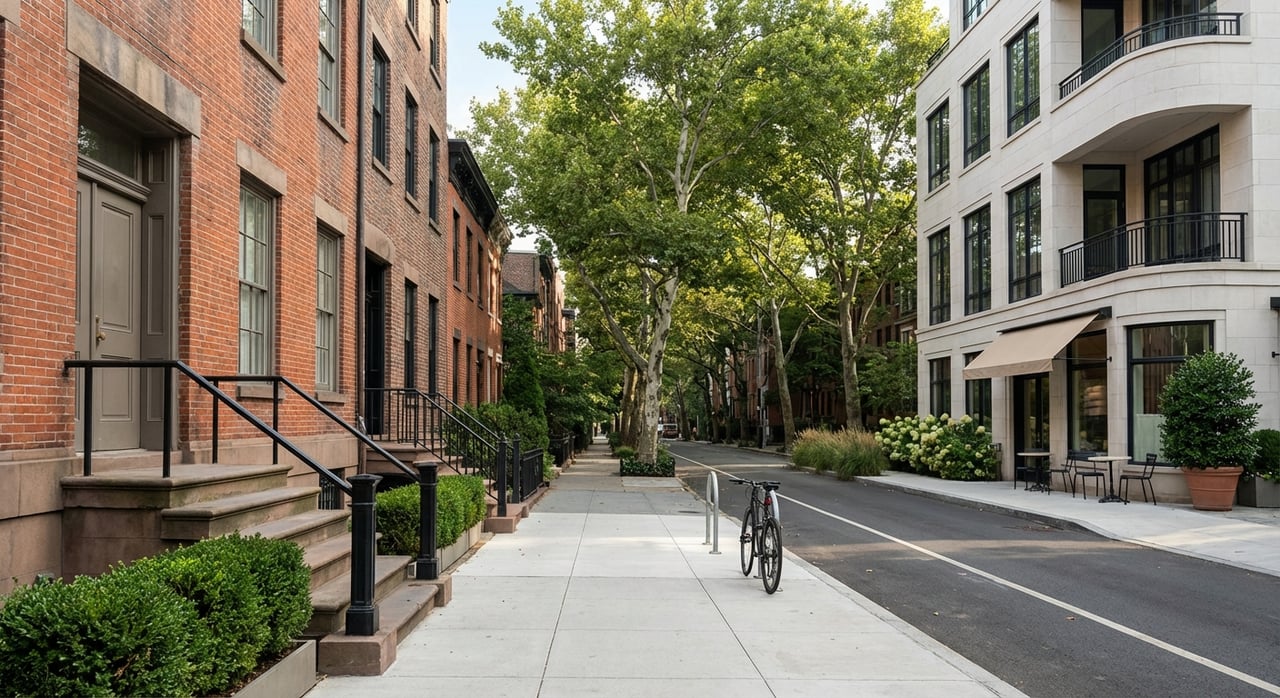
Local logistics in Center City, Blair
- Seasonal planning. Winter light can look dreary in photos. Aim for the brightest time of day, and keep walkways clear of snow and ice before photos and showings.
- Parking for showings. Confirm street parking rules and share clear instructions in showing notes.
- Permits and scope. Cosmetic work usually needs no permits. Structural changes, window replacements with egress changes, or additions may require municipal approval.
- Buyer mix. Expect a blend of first-time buyers, downsizers, and investors. Stage to show a comfortable lifestyle plus practical storage and organization.
Quick pre-list checklist
- Clear counters and remove personal items.
- Clean windows and mirrors to boost light.
- Touch up paint and trim chips.
- Replace burned bulbs and add lamps.
- Remove 30 to 50 percent of closet contents.
- Empty trash and recycling before photos.
- Stage the entry, living room, and kitchen first.
- Book the photographer for peak daylight.
Ready to sell with confidence?
A narrow townhome can shine with the right plan. Focus on light, entry appeal, storage, and photo angles that show depth. Prioritize the rooms buyers notice first, follow a simple two to four week timeline, and choose financing that fits your goals. If you want a hands-on partner to coordinate staging and premium marketing, reach out to Tyé Grays. We’ll help you present your Center City home at its best.
FAQs
What paint and bulbs make rooms look brighter in a narrow townhome?
- Use light neutrals on walls and daylight-toned LEDs around 2700 to 3500 K, then layer with table and floor lamps for even illumination.
How should I arrange living room furniture in a slim footprint?
- Choose a slim sofa or loveseat with two armless chairs, float pieces slightly off walls, and keep a clear path to hallways or stairs to show flow.
Do I need professional staging furniture or can I use my own?
- Many homes do well with edited, scaled pieces and added lamps; rent a few key items or a full set only if existing furniture is oversized or dated.
When should I schedule listing photos during winter in Blair?
- Book rooms during their brightest daylight window, turn on all interior lights, and ensure exteriors and walkways are cleared of snow and ice.
Is virtual staging allowed for vacant rooms?
- Yes, use it conservatively, keep edits realistic, and disclose virtual staging per platform rules and local regulations.
What if my budget is limited before listing?
- Start with high-impact, low-cost steps: deep clean, declutter, repaint dark rooms, refresh hardware, and focus on entry, living, kitchen, and primary bed/bath.